Hiking
How to Plan a Safe First Solo Hike in the UK: A Step-by-Step Guide
The first time you set off alone with a rucksack, the quiet feels enormous. That is not a reason to stay at home. It is a reason to plan. A solo hike is one of the best things you can do outdoors: you set the pace, you choose the view, you stop when you feel like it. But it asks more of your judgement than a walk with friends does, because there is nobody to check the map over your shoulder. Here is how to make your first one safe, manageable and genuinely enjoyable.
Start with a route that already knows you
Your first solo outing is not the day to test an unmarked ridge you read about online. Pick ground you have walked before, ideally on a low-level loop of eight to twelve kilometres, or a hill you have climbed with other people so you recognise the junctions. Familiarity is not boring. It removes the navigation guesswork and leaves you free to notice how being alone actually feels.
What makes a good first solo route
- Shorter and less hilly than you would attempt with company
- Clear paths, waymarked where possible, without scrambling or river crossings
- At least one obvious escape route back to the start
- Mobile signal in some parts, though never rely on it
- A start point you can describe in one sentence to someone else
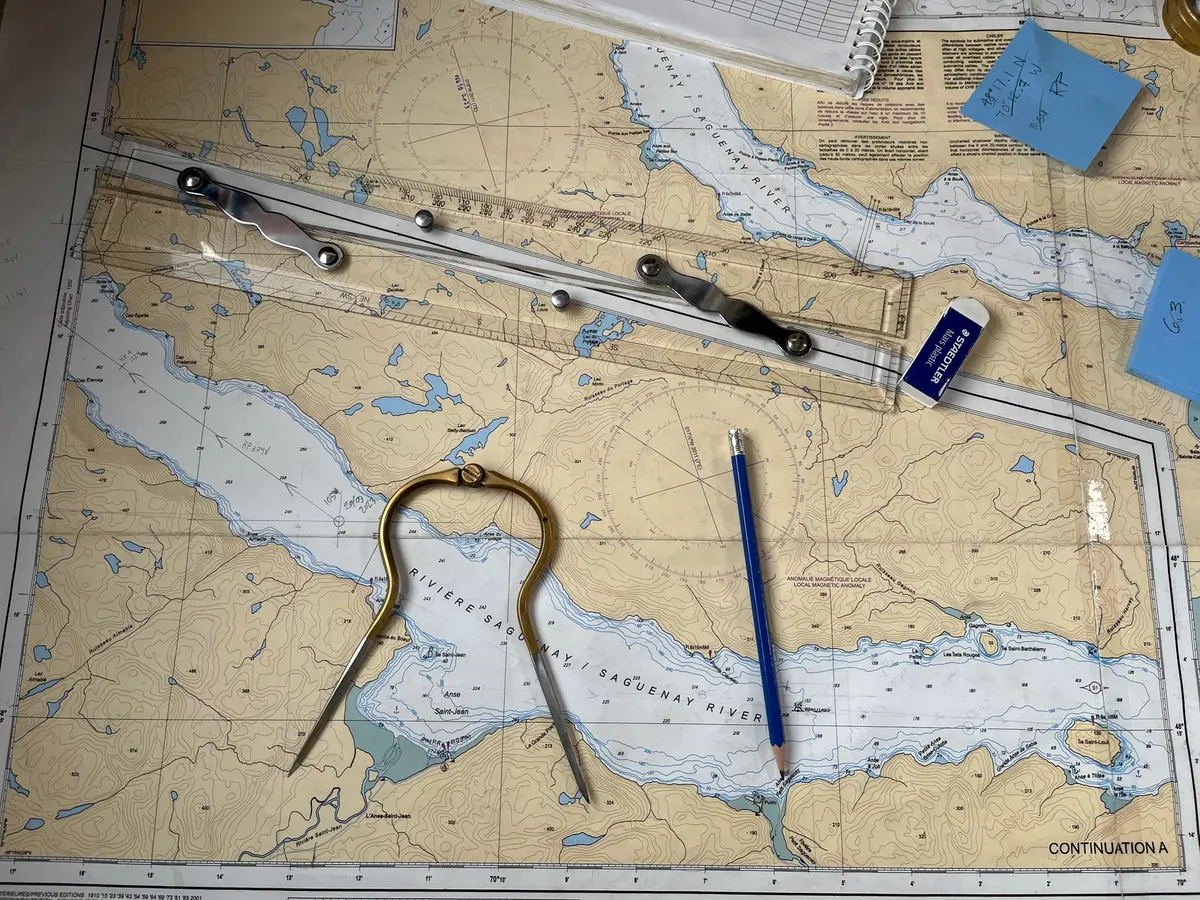
Before you go, spread an Ordnance Survey Explorer map (1:25,000) on the kitchen table and trace the route with your finger. Mark the grid references for the start, the halfway point and the point where you would bail out. Do this on paper even if you also have a map app. Reading a route on a screen while planning is not the same as knowing where the path bends left behind the plantation.
Check the weather twice, and check the light
Look at the forecast two days before and again on the morning. The Mountain Weather Information Service and the Met Office mountain forecasts give conditions by area rather than by town, which matters because a valley forecast tells you very little about a 700-metre summit. Pay most attention to wind and cloud base. Rain is uncomfortable; a strong wind on an exposed ridge is a genuine hazard, and low cloud can turn a familiar path into a guessing game.
Then check sunset for the date and your location, and give yourself an hour of daylight in hand. In winter this single calculation shapes the whole day. In summer it means you can start later and still walk comfortably. Either way, write your turnaround time on the map margin before you leave the house.
Leave a route card with someone
Tell one person exactly what you are doing. Not a vague "going for a walk" — a proper route card. It takes three minutes and it is the most useful safety measure available to you.
- Where you are starting, with a grid reference or a clear description of the car park
- The route you intend to take, including the main checkpoints
- Your expected finish time, and a later time at which they should start worrying
- What you are wearing and the car you are driving, if relevant
- An emergency contact number for someone close to you
Agree what happens if you do not check in. Something as simple as: "If you have not heard from me by seven, ring me. If I do not answer, call 999 and ask for mountain rescue." In the UK that is the correct route — dial 999 and ask for mountain rescue, and be ready to give a grid reference or a what3words location. Apps such as OS Locate will read out a grid reference from your phone's GPS, which is far more useful to a rescue team than "somewhere near the second stile".
Pack for the walk you are not expecting
Solo walking means carrying your own margin of safety. The kit does not need to be expensive, but it does need to cover the possibility that you are out longer, colder and wetter than planned.
- Boots or trail shoes with grip, already broken in
- Waterproof jacket and trousers, in the bag rather than on your hopes
- A spare warm layer — fleece or synthetic, not cotton
- Hat and gloves, even in July, because summits are cold and wind chill is real
- Paper map and compass, plus a phone with offline maps downloaded
- Headtorch with working batteries, which turns a late finish into an inconvenience instead of an emergency
- Water and food — a litre and a half and more snacks than you think you need
- Whistle and foil emergency shelter, both light and both worth carrying
- Power bank and a small first aid kit, including blister plasters
If you have a medical condition, or you are returning to walking after illness or injury, speak to your GP before planning anything ambitious. That is not a formality; it is part of route planning.
Build confidence in small steps
You do not have to jump straight to a solo mountain day. Most people who walk alone regularly got there gradually. Try a two-hour local loop on your own. Then a longer lowland walk where you navigate the whole way yourself, deliberately putting the map away and reading the ground instead. Then a hill you know well, alone, on a good day. By the time you plan something bigger, the decision-making has stopped feeling unfamiliar.
Practise the skills while someone else is still there. Take a navigation leg on a group walk. Test your headtorch on an evening walk near home. Learn how your waterproof behaves in real rain. Confidence comes from evidence, and evidence comes from repetitions.
On the day: habits that keep you right
Start earlier than you want to. Note the time at each checkpoint, and compare it with your plan without judgement — the numbers just tell you whether to shorten the route. Eat and drink before you feel hungry or thirsty, because on a solo walk there is nobody to remind you. Say hello to the people you pass; a brief exchange about the path ahead is useful information and it breaks the solitude nicely.
When to turn back
Have a simple rule and stick to it. If the weather is worse than forecast, if you are behind your turnaround time, or if something just feels wrong, turn around. Any two of those together means the decision is already made. A hill will still be there next month.
A simple plan for your first solo hike
Choose a route you already know, keep it short, and check the forecast the morning you go. Leave a route card with a named person and agree a check-in time. Carry waterproofs, a warm layer, a headtorch, a paper map, food and water. Set a turnaround time before you leave and honour it. Then go — and notice how much more of the day you see when nobody is talking. If you enjoy it, add a little more distance, or a new hill, next time. That is how a first solo hike becomes a habit.
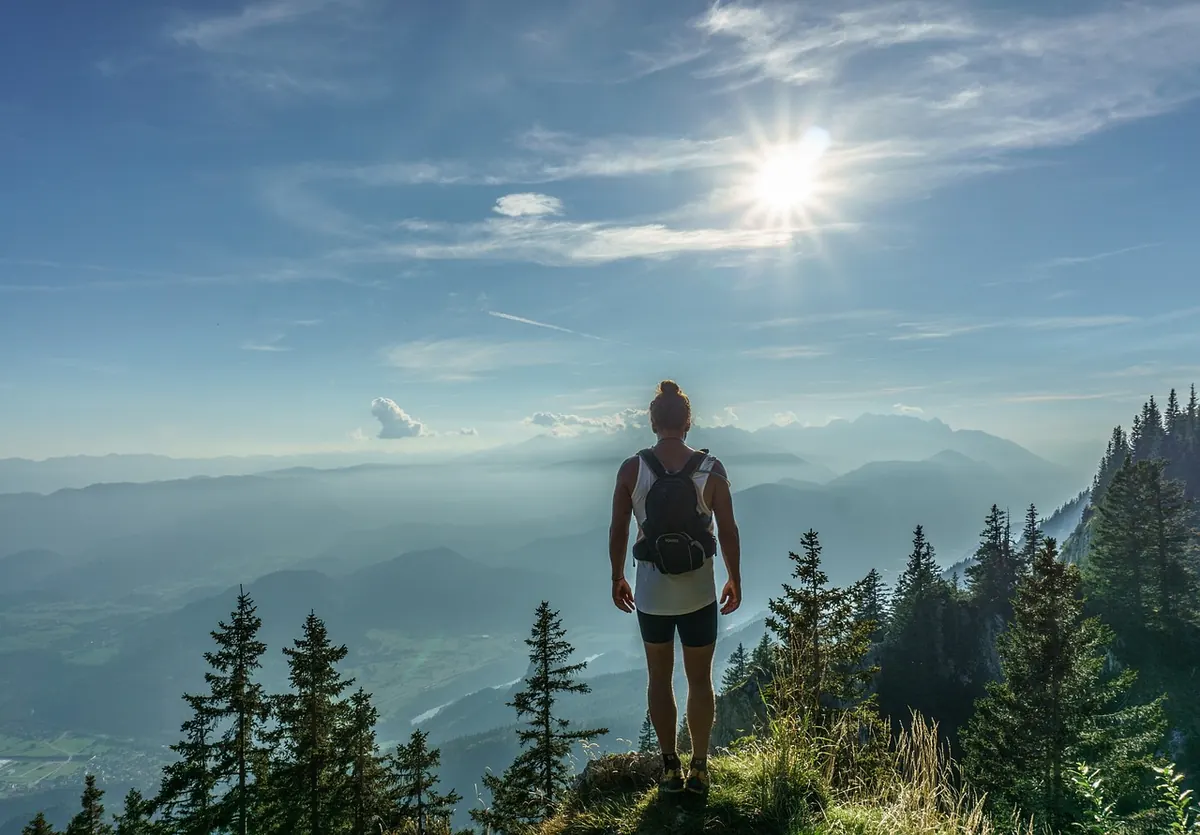
Photo: dreamypixel / Pixabay
Related Articles