Gear
How to Waterproof Your Hiking Boots Without Ruining Them
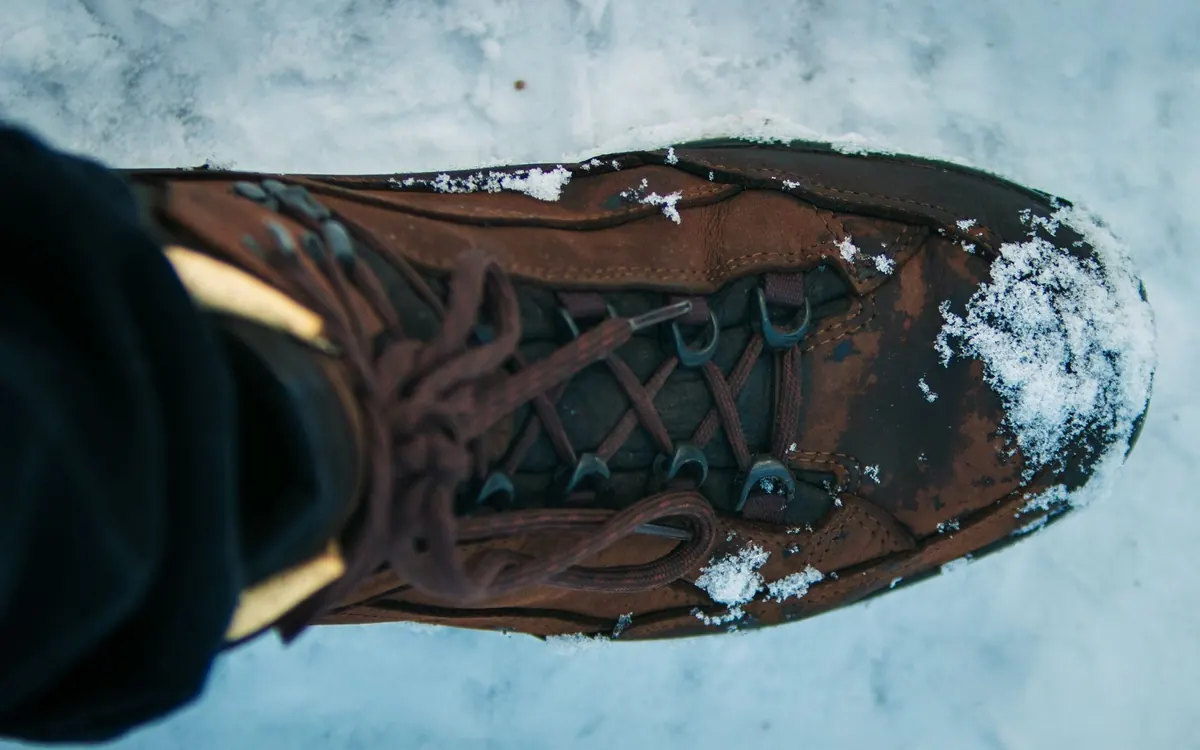
There is a particular kind of misery that begins at the toes and works its way upward. If your boots have started letting water in, the good news is that most pairs are not worn out — they are simply overdue for a clean and a fresh layer of proofing. The catch is that the method has to match the material, because a wax that revives full-grain leather will flatten the nap on nubuck and do nothing useful for a synthetic upper.
Work out what you are actually treating
Boots fall into three broad camps, and the labels are not always obvious once a few seasons of mud have settled in.
- Full-grain or smooth leather. Takes wax, oil or cream-based proofers and improves with them.
- Nubuck and suede. Has a raised, velvety surface that wax will clog and darken permanently. Use sprays and a soft brush.
- Fabric, mesh and synthetic. Usually relies on a durable water repellent (DWR) finish on the face fabric, refreshed with a spray-on treatment.
- Mixed material. The most common type: leather panels stitched to textile or mesh. These need a product that suits both, or two products applied selectively.
If you are unsure, look at the care label inside the tongue. Failing that, a drop of water on the upper tells you a lot: if it beads and rolls off, the finish is still working. If it soaks in dark and flat, it is not.
Clean before you proof — always
Proofing a dirty boot seals grit and mud into the surface and wastes the product. Cleaning is the part most people skip, and it is the part that matters most.
- Strip the boot down. Remove the laces and pull out the insoles. Open the tongue out fully so the gusset gets attention too.
- Knock off dried mud outdoors. Do this before it sets hard. A stiff brush or the back of a knife blade works on caked-on stuff; a toothbrush is ideal for stitching and eyelets.
- Brush the whole upper. Use a nylon brush for fabric and mesh, and something softer for leather so you do not scratch it.
- Wash with lukewarm water and a mild soap or a dedicated boot cleaner. Work with a cloth or sponge rather than dunking the boot in a bucket — leather especially should never be soaked.
- Rinse with a clean, damp cloth and fresh water. Detergent residue left in the fabric attracts dirt and can hamper the new proofing.
- Deal with the inside. Rinse out loose grit, and wash insoles separately by hand. They dry faster on their own.
Dry them slowly — never on a radiator
Heat is the enemy here. A radiator, a tumble dryer, a hair dryer or a spot by the fire will crack leather, soften the adhesives holding the sole on and distort the shape of the boot. Once that has happened, no proofer will put it right.
Instead, loosen the laces wide, pull the tongue forward and stuff the boots with crumpled newspaper or a dedicated boot drier. Leave them at room temperature, out of direct sun, for a day or two. If they are properly soaked, swap the newspaper every few hours at first. A slightly damp boot can be proofed later; a wet one cannot be proofed at all, because the treatment will not bond.
Reproofing leather boots
Choose a wax, oil or cream-based proofer made for smooth leather. Bring the boots to room temperature first — a little warmth helps the product sink in, but they should not be hot.
Work in thin coats rather than one thick one. Use your fingers or a cloth, and pay particular attention to the places that flex and crease: the toe box, the ball of the foot, the heel, and around the tongue and seams. Give the welt and the stitching a pass as well. Leave the boots for twenty minutes or so, then wipe off any excess with a clean cloth and buff lightly. A second thin coat can go on the following day if the leather still looks thirsty.
Nubuck and suede follow a different route: a spray-on proofer designed for them, applied in light passes, followed by a soft brush to lift the nap back up once dry. Accept that a little darkening is normal on the first application.
Reproofing fabric and synthetic uppers
These uppers keep water out with a DWR coating rather than with wax, and that coating wears off with abrasion and repeated washing. Spray-on treatments are the way to restore it.
Work outside or in a well-ventilated space. Hold the can or trigger a comfortable distance from the boot and apply an even, thin mist, covering the whole upper including the seams and the area around the tongue. Give it fifteen to twenty minutes, then apply a second light coat. Two thin passes beat one heavy soaking, which can leave a patchy, tacky finish.
Some manufacturers recommend a short spell of gentle warmth — a low tumble dry or warm air — to help the finish set. Follow whatever the product instructions say, and if in doubt, air dry for a full day before you wear them.
Mixed-material boots: the sensible approach
For boots that mix leather and textile, a spray proofer formulated for all materials is the simplest and safest choice. It will not do much for a dry, thirsty leather panel, though, so if the leather looks pale and cracked, treat those sections separately with a leather cream or wax, taking care to keep it off the fabric and mesh. Mask the textile with a cloth or a strip of tape if you are using a paste or wax.
What to avoid
- Harsh detergents, bleach, solvents and washing-up liquid in strong concentration — they strip finishes and dry out leather.
- Soaking leather boots in water, whether in a bucket or a stream.
- Wax or oil on nubuck, suede or mesh.
- Direct heat of any kind, including car heaters and radiators.
- Proofing while the boot is wet or still dirty.
- Layering product on repeatedly in the hope that more is better. It is not: over-waxing clogs breathability and softens the leather.
A routine that takes ten minutes
The boots that stay dry are rarely the ones that get treated most often; they are the ones that get treated at the right time. Rinse or brush off mud after a wet or boggy day, before it dries hard. Check the beading every few outings with a few drops of water. Reproof at the start of each season and again if the surface starts darkening and soaking in rather than repelling.
Store boots loosely laced, in a dry, airy place, never sealed in a damp bag. Keep a spare set of laces in your pack — gritty laces saw through eyelets and can chew at gussets. And if a boot still leaks after a proper clean and reproof, look closely at the flex point of the toe box and the seams around the heel. Cracks in the leather, worn stitching or a failed membrane are structural faults, and no amount of wax or spray will fix them. At that point, a repair specialist or a new pair is the honest answer.
Photo: Vincent Zonneveld / Pexels
Related Articles